$ nmap -sC -sV 10.10.11.239
Starting Nmap 7.93 ( https://nmap.org ) at 2023-11-04 19:46 WET
Nmap scan report for 10.10.11.239
Host is up (0.060s latency).
Not shown: 997 closed tcp ports (reset)
PORT     STATE SERVICE VERSION
22/tcp   open  ssh     OpenSSH 8.9p1 Ubuntu 3ubuntu0.4 (Ubuntu Linux; protocol 2.0)
| ssh-hostkey:
|   256 96071cc6773e07a0cc6f2419744d570b (ECDSA)
|_  256 0ba4c0cfe23b95aef6f5df7d0c88d6ce (ED25519)
80/tcp   open  http    Apache httpd 2.4.52
|_http-title: Did not follow redirect to http://codify.htb/
|_http-server-header: Apache/2.4.52 (Ubuntu)
3000/tcp open  http    Node.js Express framework
|_http-title: Codify
Service Info: Host: codify.htb; OS: Linux; CPE: cpe:/o:linux:linux_kernel

Service detection performed. Please report any incorrect results at https://nmap.org/submit/ .
Nmap done: 1 IP address (1 host up) scanned in 15.13 seconds
Port
Service
22
SSH
80
HTTP
3000
Node.js
HTTP
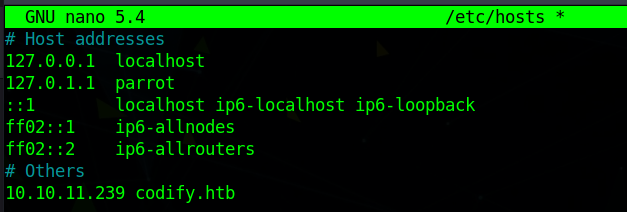
/etc/hosts
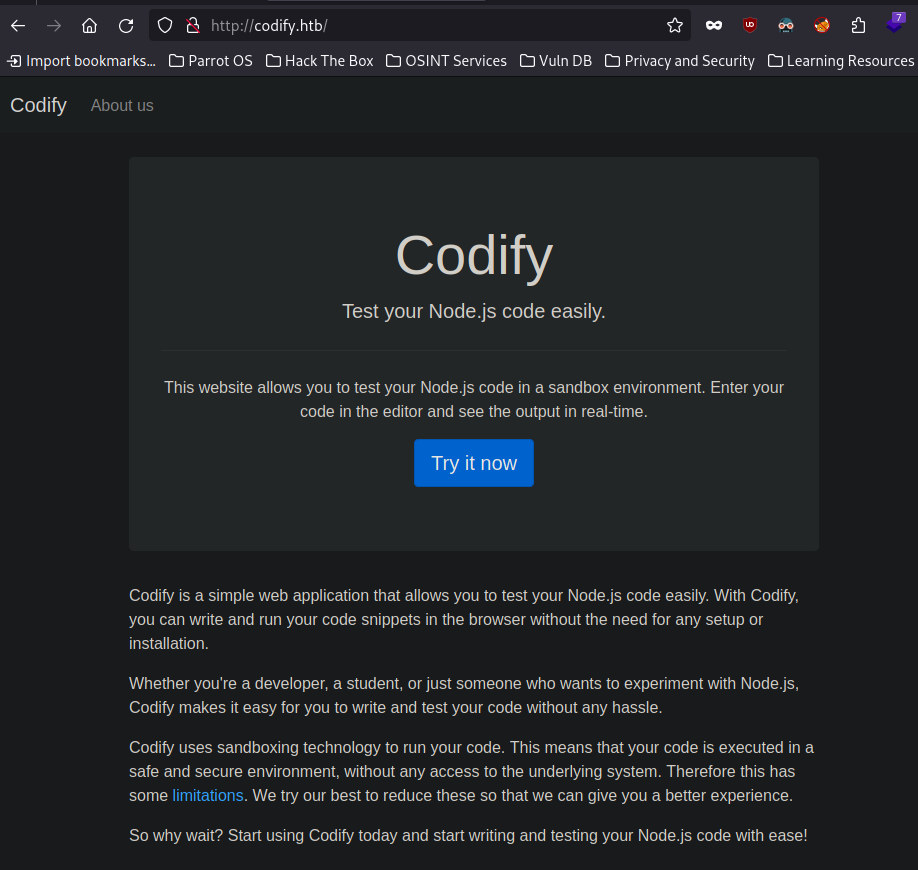
Web Page
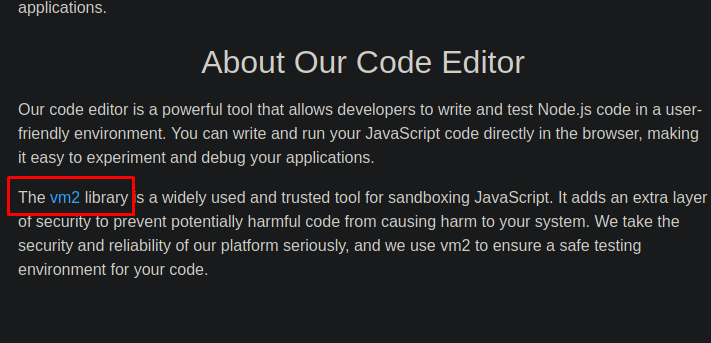
In the about page, we can see that the code editor we can use on the page, uses the vm2 library
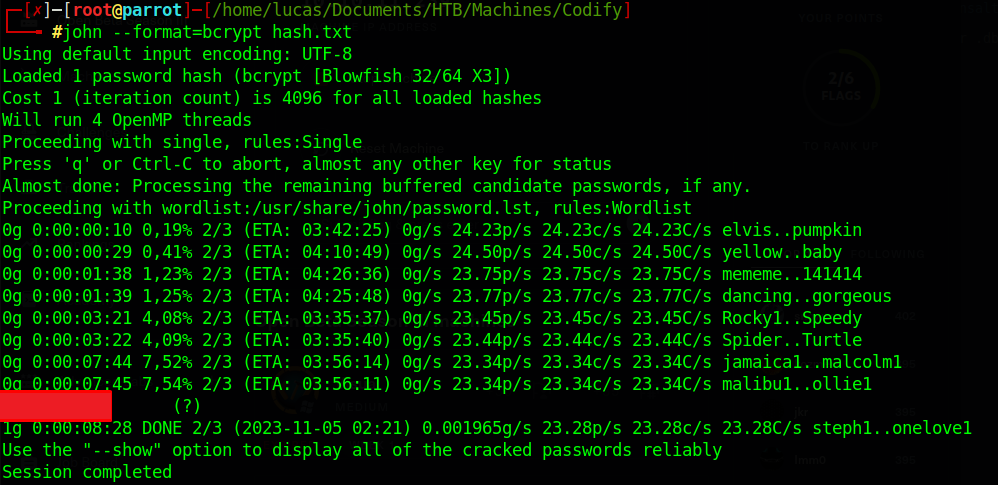
Looking at the hash, and after a quick search, we know that this is a bcrypt hash We can just use john to decrypt it
1
$ john --format=bcrypt hash.txt
user.txt flag
Now we can just login as Joshua through ssh
1
$ ssh joshua@10.10.11.239
And we get the user flag
PrivEsc
mysql-backup.sh
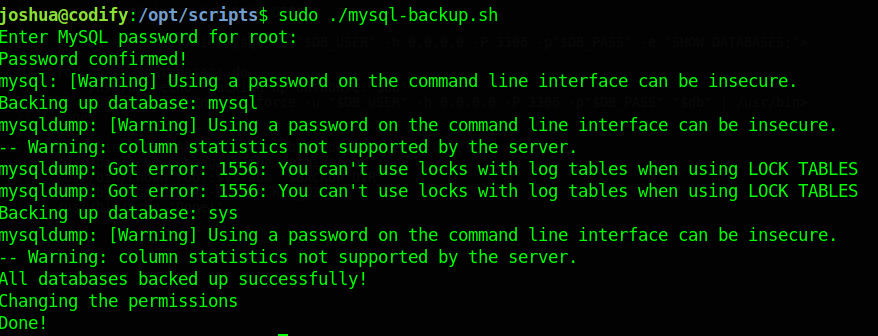
By running sudo -l, we can see that Joshua can run mysql-backup.sh as root
By looking at the mysql-backup.sh code, we see that it checks for the root password on /root/.creds and checks it against our input, if we input the correct root password, it runs the rest of the code, which creates a backup of the database.
If we insert an asterisk (*) when asked for the root password, it bypasses the password check and runs the entire code.
pspy
We know, that by looking at the script code, it runs some code using the $DB_PASS variable, which is the root password, but when we run the script, it does not show in the terminal.
For this reason, we can use pspy to snoop in the process and see the command in plaintext.
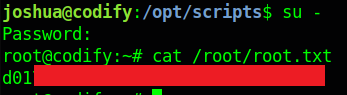
Transfer the pspy script to the target machine, split the terminal and run pspy in one of them. Then run the mysql-backup.sh script on the other terminal. Now we can see the command that was ran using the root password.

 Linux
Linux